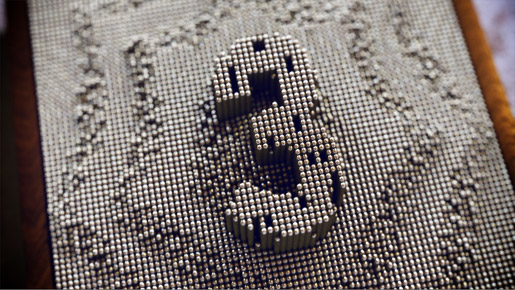
 [dropcaps]3.[/dropcaps] Sticking a mesh to each vertex of another mesh is actually very easy. Just convert the mesh ( plane grid in our case ) into a soft body with “goal weight” set to 1. This will place particles at each vertex of the converted object and as the goal value set to 1 this will ensure that the position of these particles is exactly equal to the position of the corresponding vertex when they move. Thus the particles do no lag behind in translation when we play the animation.
 Finally we select a desired object which we want to place at each vertex of the grid ( a pin mesh in this case ) and “instance” it to the particles created during the soft body conversion. So select the pin mesh and choose “Instancer (Replacement)” option box. Make sure pin mesh is selected under the “Instanced objects” list and also soft body particles are selected in the “Particle object to instance” (see image). Since in this case we just have one pin object selected and only one particle so we don’t need to worry about what we select.
Lastly click Create button and voila!!! we are done. Play the animation and enjoy.

Leave a Reply